Views: 0 Author: Site Editor Publish Time: 2026-10-08 Origin: Site


Built-in cabinetry represents a permanent structural commitment for your home. You cannot easily adjust it once installed. Miscalculating your measurements often leads to crushed footwear. It also causes cabinet doors to jam. Even worse, poor planning results in wasted hallway space. Off-the-shelf sizing regularly fails to account for modern footwear profiles. Chunky sneakers, tall winter boots, and specialized sports gear demand precise internal clearances. Standard store-bought designs rarely address the structural realities of custom millwork. Our primary goal is to provide a definitive framework for calculating proper measurements. We will translate your unique footwear collections into exact interior and exterior build specifications. Proper planning prevents frustrating bottlenecks in your daily routine. By understanding core dimensional constraints, you can design storage scaling alongside your family. We will explore everything from material thickness to hinge clearance requirements. This ensures your final installation remains highly functional over time.
Getting your shoe cabinet dimensions right forms the foundation of any successful entryway project. The critical constraint is always internal depth. External measurements mean nothing if you cannot close the cabinet doors over your largest sneakers. We must establish baseline metrics based on the footwear you actually own.
Internal depth dictates how your shoes sit on the shelf. You have two primary structural approaches. Each approach demands a specific dimensional footprint.
Shoe heights vary drastically. Designing shelves with uniform spacing wastes massive amounts of vertical space. You should categorize your collection to plan vertical clearances accurately.
You must estimate linear width properly to maximize storage density. A common mistake involves cramping shoes together. This causes scuffs and makes daily retrieval annoying. Estimate 8–10 inches of linear width per pair of adult shoes. Men's dress shoes often need the full 10 inches. Women's flats might only need 8 inches. A standard 36-inch wide cabinet tier comfortably fits 4 pairs of adult shoes without scuffing.
Shoe Cabinet Vertical Spacing Guidelines
| Footwear Category | Recommended Clear Height (Inches) | Ideal Shelf Type |
|---|---|---|
| Flip Flops & Sandals | 5 - 6 | Flat |
| Low-Top Sneakers | 7 - 8 | Flat or Tilted |
| Hiking & Ankle Boots | 10 - 12 | Flat (Tilted requires steep angles) |
| Knee-High Boots | 18 - 22 | Flat (with boot trees) |
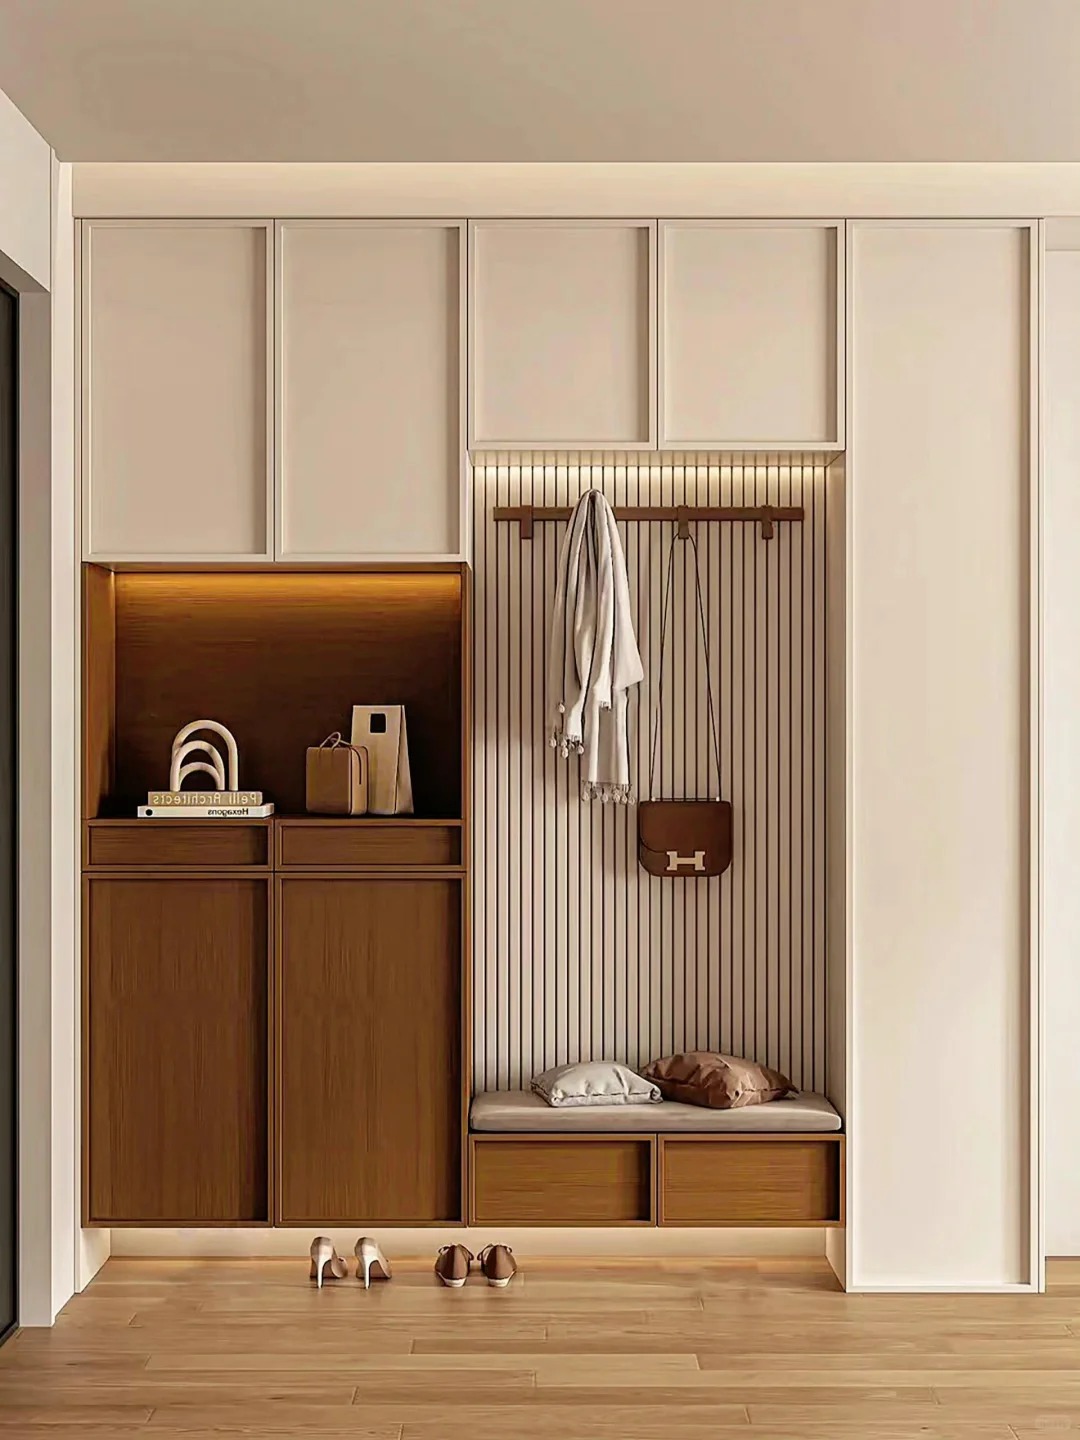
Wood thickness directly impacts your usable space. Novice designers often confuse external blueprints with interior volume. You must subtract the structural materials to find your true storage capacity.
When you specify a high-quality Shaker plywood shoe cabinet, you must acknowledge material volume. Standard 3/4-inch plywood on the carcass sides consumes 1.5 inches of total external width. The back panel usually takes another 1/4 to 1/2 inch. Cabinet doors add another 3/4 inch to the front. A cabinet measuring 15 inches deep externally might only yield 13 inches internally. Ignoring this simple math leaves your shoes severely cramped.
The structural style of your cabinet changes how you access the interior. You must choose between framed and frameless constructions.
Hinges require physical space to operate. Euro-style concealed hinges remain the industry standard for modern built-ins. However, they occupy 1–2 inches of internal corner space. If you place a shelf directly in line with a hinge body, the shelf will not fit. Design your shelf depths carefully. Alternatively, group shelf placements strategically to avoid hinge collision altogether.
Your hallway footprint dictates your physical boundaries. You must evaluate the room itself before building the cabinet. A beautiful cabinet fails entirely if it blocks household traffic.
Evaluate the "open door clearance" rigorously. Built-in units require operational envelopes. A 14-inch deep cabinet utilizing double 18-inch doors requires a minimum 32-inch operational envelope. If your hallway only measures 40 inches wide, opening those doors leaves a mere 8 inches for a person to stand. This forces you to lean awkwardly to grab your shoes. In tight spaces, consider sliding doors or narrower double doors.
High-traffic entryways require careful dimensional planning. We recommend specifying a maximum cabinet depth of 12-14 inches here. Deep cabinets protrude into walking paths. They cause people to bump into corners. Keeping the profile slim prevents bottlenecking in busy family hubs. If you need more storage in a narrow corridor, build taller rather than deeper.
Map out your inventory before ordering materials. Audit the household's current and projected shoe volume. You should apply the 80/20 rule for optimal organization. Design 80% of the volume for daily drivers. These include sneakers, flats, and casual work shoes. Reserve 20% for bulky seasonal wear such as winter boots or specialized athletic cleats. Storing out-of-season footwear higher up saves premium accessible space for daily use.
Most people forget about airflow until their closet smells damp. Built-in units trapped in alcoves easily trap moisture and odors. Updating your shoe cabinet dimensions over time requires mechanical flexibility. Proper airflow and adjustability extend the lifespan of both your cabinetry and your footwear.
Damp shoes introduce moisture into sealed wooden boxes. Over time, this warps the wood and damages leather footwear. You must integrate passive airflow into your specifications.
Avoid fixed structural shelves unless absolutely required for cabinet rigidity. Typically, you only need one fixed shelf per 36 inches of cabinet height to prevent the side panels from bowing. Specify 32mm system shelf pinholes throughout the rest of the unit. This industry-standard spacing allows you to move shelves up or down in tiny increments. It guarantees your cabinet adapts when your family buys taller boots next winter.
Shelf Orientation Comparison Chart
| Feature | Flat Shelving | Tilted (Angled) Shelving |
|---|---|---|
| Minimum Internal Depth | 13 - 14 inches | 10 - 11 inches |
| Vertical Space Usage | Highly efficient | Requires more height per tier |
| Hardware Needs | Standard shelf pins | Heel catches or front lips required |
| Best Use Case | Large mudrooms, walk-in closets | Narrow hallways, tight corridors |
Professional millworkers require clear documentation. Vague requests lead to disappointing results. Follow this checklist to hand off perfect specifications to your contractor or cabinet maker.
Proper specification bridges the gap between aesthetic millwork and functional daily storage. A beautifully painted built-in fails its primary mission if your sneakers get crushed every time you close the doors. Precision ensures your entryway remains organized and stress-free.
A: Require a minimum internal depth of 14.5 inches for flat shelves, or specify a 45-degree tilted shelf for shallower cabinets.
A: Baseline spacing is 7 inches, but utilizing adjustable tracking is highly recommended to accommodate both 5-inch flats and 18-inch boots.
A: Tilted shelves are superior for narrow spaces (under 12 inches deep) and visual display, but flat shelves are more cost-effective to build and offer better vertical density.
A: Divide the usable internal width (in inches) by 9. Multiply that number by the total number of shelves.


